


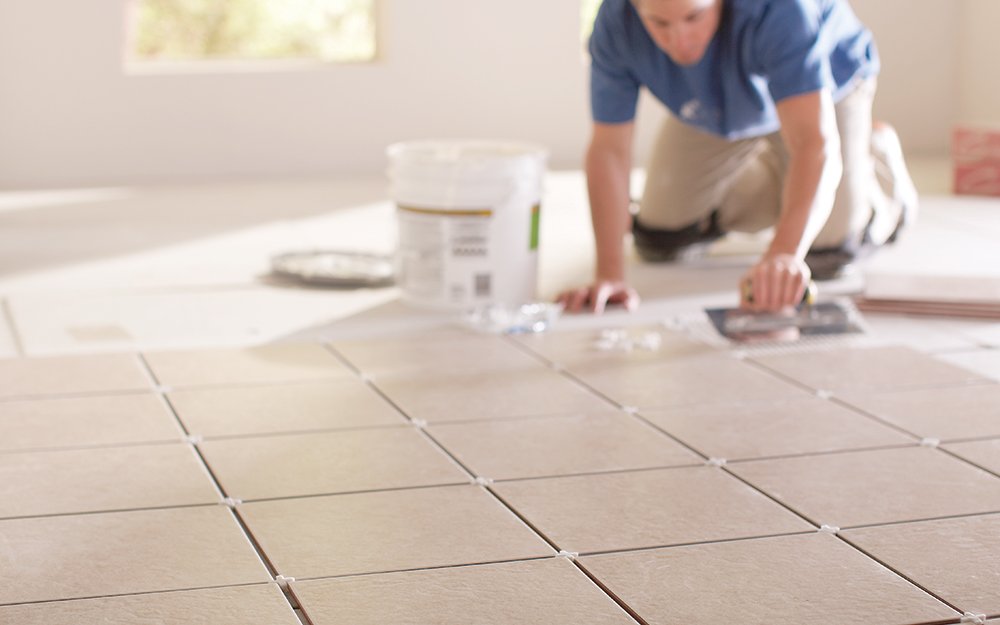
Professional tile installation requires much more than simply placing tiles on a floor. At HRM Florida, every tile project starts with careful measurements, surface inspection, proper preparation, accurate tile layout, professional installation, grouting, and final finishing. For Tile Installation in Kendall, HRM Florida focuses on keeping tiles properly aligned, maintaining consistent spacing, and preparing the surface correctly before installation begins. What makes HRM Florida different is its attention to the complete renovation process. Instead of rushing through installation, the team coordinates flooring with other work such as cabinetry, countertops, and remodeling to help avoid unnecessary delays, installation problems, and costly corrections.
How Long Does Tile Installation Usually Take?
For an average residential room, professional tile installation may take approximately 2 to 5 days, depending on the size and condition of the area. Larger or more complicated projects can take a week or longer.
The total timeline depends on several factors, including:
- Size of the installation area
- Condition of the existing floor
- Tile size and material
- Removal of existing flooring
- Subfloor preparation
- Tile pattern and layout
- Number of cuts required
- Adhesive and grout curing time
- Location of cabinets, walls, and other obstacles
A professional contractor should inspect the area before providing a realistic project timeline.
Day 1: Removing the Existing Flooring
If the room already has tile, laminate, vinyl, carpet, or another flooring material, it may need to be removed before new tile can be installed.
Removing old tile can take longer because the installer also needs to remove remaining mortar and adhesive from the floor.
During Floor Renovation services in Aventura, this preparation stage is important because installing new tile over an unsuitable or damaged surface can lead to problems later.
Once the old flooring is removed, the contractor can properly inspect the subfloor.
Day 1–2: Preparing the Subfloor
Subfloor preparation is one of the most important parts of professional tile installation.
The surface needs to be clean, stable, dry, and sufficiently flat before tile is installed. Cracks, low areas, loose sections, or other problems may need to be repaired first.
Depending on the project, preparation may involve cleaning, leveling, crack repair, or installing an appropriate tile underlayment or membrane.
Experienced Tile installation contractors in Kendall should never ignore this step just to complete a project faster. Poor preparation can contribute to cracked, loose, or uneven tiles later.
Day 2–3: Planning and Installing the Tile
Before setting the first tile, professionals plan the layout.
This helps avoid awkward cuts and creates a more balanced appearance across the room. Reference lines may be marked to help maintain straight rows and consistent spacing.
The installer then applies the appropriate setting material and installs the tiles according to the planned layout.
Simple layouts generally take less time. Patterns such as diagonal, herringbone, or other decorative designs may require additional measuring and cutting.
Large-format tiles can also require additional surface preparation because they need a sufficiently flat substrate for a successful installation.
How Much Tile Can Be Installed in One Day?
There is no single number that applies to every project.
An open rectangular room with minimal cuts can usually progress faster than a bathroom, kitchen, or irregularly shaped space with multiple corners and obstacles.
For Home Remodelling in Kendall, tile work may also need to be coordinated with plumbing, cabinetry, painting, electrical work, or other renovation stages.
The goal should not simply be to install as many tiles as possible in one day. Correct alignment, coverage, spacing, and finishing are more important than speed.
Allow Time for the Tile to Set
After tile installation, the setting material needs adequate time to cure before the next stages proceed.
The exact curing time depends on the product used, tile type, environmental conditions, and manufacturer’s instructions. Walking on newly installed tile too soon can affect the installation.
Professional installers therefore include curing time when planning the overall schedule rather than treating it as wasted time.
Grouting and Finishing
Once the tile installation has set sufficiently, the joints can be grouted.
The grout is applied between the tiles and excess material is cleaned from the tile surfaces. Edges, transitions, and other finishing details are then completed as required.
Grout also needs appropriate curing time. The specific waiting period varies by product, so homeowners should follow the manufacturer’s recommendations before heavy use or wet exposure.
Does Tile Installation Take Longer During a Full Renovation?
It can.
During a complete renovation, flooring must be coordinated with the other parts of the project.
For example, Cabinet Installation in Kendall may affect the flooring schedule depending on the project design and installation method. Similarly, Countertop installation in Aventura needs to be coordinated with base cabinets and other completed work.
This is why proper scheduling matters during a renovation. Completing tasks in the correct order helps prevent finished surfaces from being damaged or work from needing to be repeated.
What Can Delay a Tile Installation Project?
Unexpected conditions discovered after removing the existing floor are among the most common reasons for delays.
These may include an uneven substrate, cracks, moisture problems, damaged materials, or areas requiring additional leveling.
Other potential delays include complicated tile patterns, numerous custom cuts, material shortages, and coordination with plumbing or other renovation work.
A company should identify as many of these issues as possible before installation begins and communicate any necessary changes to the homeowner.
Why You Shouldn’t Rush Professional Tile Installation
Finishing a tile project quickly may sound attractive, but speed should never come at the expense of preparation and accuracy.
Incorrectly installed tile can develop problems such as uneven surfaces, poor alignment, loose tiles, cracked grout, or premature failure.
Whether you’re looking for the Best renovation company in Aventura or planning a flooring project in Kendall, ask the contractor how they prepare the surface, plan the layout, handle waterproofing where required, and allow for proper curing.
Plan Your Tile Installation With HRM Florida
So, how long does professional tile installation take? A straightforward residential project may take around 2 to 5 days, while larger or more complex installations may require a week or longer. The final timeline depends on demolition, preparation, tile selection, layout complexity, installation conditions, and curing requirements.
HRM Florida approaches Tile Installation in Kendall with careful preparation, accurate installation, and proper coordination with other renovation work. From Floor Renovation services in Aventura and Home Remodelling in Kendall to Cabinet Installation in Kendall and Countertop installation in Aventura, planning each stage correctly helps create a finished space that is attractive, functional, and built for long-term use.
