


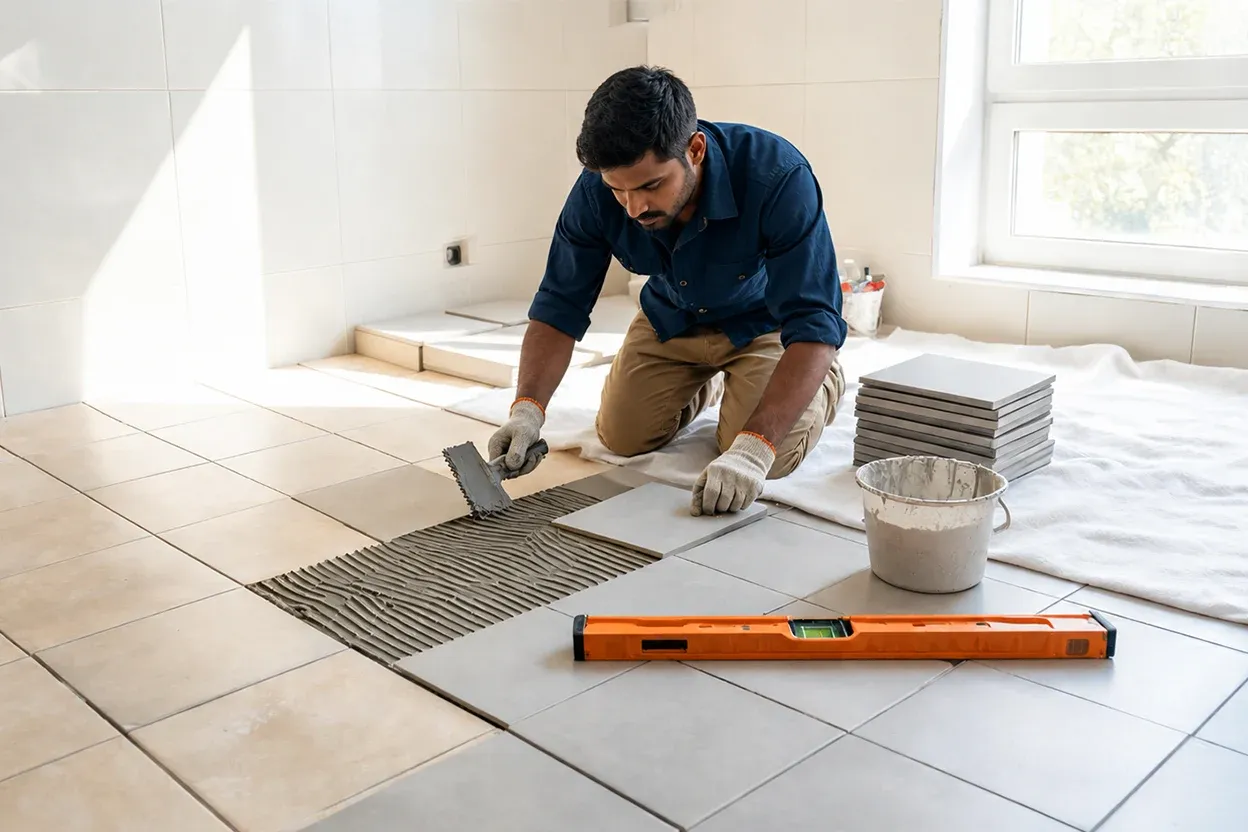
A professional tile installation requires much more than simply placing tiles on a floor or wall. HRM Florida handles tile installation according to each customer’s preferences, including tile size, colour, pattern, layout, grout selection, and the overall style of the space. The team carefully plans each stage from removing the existing surface and preparing the area to installing the appropriate membrane, setting the tile, grouting, and completing the final inspection. What makes HRM Florida different is its organised project management, clear scheduling, transparent pricing, and ability to coordinate tile installation with other renovation work. Whether you need Tile Installation in Kendall for a kitchen, bathroom, shower, or flooring project, proper preparation and attention to detail are essential for a clean and long-lasting result.
What Happens Before Tile Installation Starts?
Before installation begins, the area needs to be inspected and measured. The installer reviews the condition of the existing floor or wall, the type and size of tile selected, and the customer’s preferred layout.
Every project can be different. Large-format tile, shower tile, bathroom flooring, and kitchen flooring may require different preparation and installation methods.
For homeowners searching for home renovations near me, it is also important to coordinate tile installation with cabinets, countertops, plumbing, electrical work, and other renovation stages.
Step 1: Remove the Existing Flooring or Tile
If there is existing tile or another flooring material, it may need to be removed before the new installation begins.
Old tile, flooring, adhesive, and loose materials are removed so the installer can inspect the surface underneath. The area is then cleaned to prepare it for the next stage.
During a Floor Remodel in Aventura, this step is important because hidden problems with the existing surface may only become visible after the old flooring is removed.
Step 2: Inspect and Prepare the Surface
Proper surface preparation is one of the most important parts of tile installation.
The surface should be clean, stable, and suitable for the selected tile system. Uneven or damaged areas may need to be corrected before installation continues.
Installing tile over an improperly prepared surface can contribute to uneven tiles, poor bonding, cracking, and other problems later.
A professional installation therefore focuses on what is underneath the tile as much as the finished appearance.
Step 3: Install the Membrane or Waterproofing System
Once the surface has been properly prepared, the next step may be installing an appropriate membrane or waterproofing system.
Membranes can serve different purposes depending on the project. Some systems provide waterproofing, while others may help with crack isolation or uncoupling between the tile and the surface below.
This step is particularly important for wet areas.
During a bathroom renovation in Kendall or a shower renovation near me, waterproofing should be addressed before the finished tile is installed. Tile and grout form the visible surface, but the underlying waterproofing system helps protect the structure from moisture.
The exact membrane and installation method should be selected according to the specific application and installed according to the manufacturer’s requirements.
Step 4: Plan the Tile Layout
Before permanently setting the tile, the installer plans how the tiles will be positioned.
The goal is to create a balanced layout and determine where full tiles and cut pieces will appear. Proper planning can help avoid very small or awkward tile cuts in highly visible areas.
The customer’s preferred design is also considered. Depending on the selected tile, the layout could be straight, staggered, diagonal, or another pattern.
In bathrooms and showers, the layout may also need to coordinate with niches, drains, vanities, plumbing fixtures, and wall features.
Step 5: Apply the Setting Material
After the layout is established and the surface is ready, the appropriate setting material is prepared and applied.
The installer normally works in manageable sections so the material remains workable while the tiles are positioned.
Proper application helps create good contact between the tile and prepared surface.
Step 6: Set and Align the Tiles
The tiles are then carefully placed according to the planned layout.
Throughout this stage, the installer checks spacing, alignment, level, and the overall pattern. Consistent spacing helps create uniform grout joints and a cleaner finished appearance.
Careful alignment becomes especially noticeable when working with large-format tiles or designs with strong patterns.
Customers looking for the Best Renovation company near me should consider the entire installation process, not just how the finished tile looks. Preparation, waterproofing, layout, alignment, and finishing all contribute to the completed project.
Step 7: Cut Tiles Around Walls and Fixtures
Most rooms require some tiles to be cut.
Cuts may be necessary around:
- Walls and corners
- Doorways
- Cabinets
- Plumbing fixtures
- Floor transitions
- Shower niches
- Drains
- Other fixed features
Accurate cutting helps the tile fit neatly around the surrounding elements.
When tile work is coordinated with Cabinet Installation in Kendall, cabinet locations and the overall kitchen or bathroom layout should be considered as part of the installation plan.
Step 8: Allow the Tile to Set
After the tiles have been positioned, the setting material needs sufficient time to cure.
The newly installed surface should not be disturbed too early. The required curing time depends on the products used, environmental conditions, and the type of installation.
Following the recommended curing requirements helps protect the installation before grouting begins.
Step 9: Apply the Grout
Once the tile is ready, grout is applied to the joints between the tiles.
Grout colour can have a noticeable effect on the finished design. A similar colour can create a more blended appearance, while contrasting grout can make the tile pattern more visible.
Excess grout is cleaned from the tile surface during the finishing process.
For shower installations, grout is part of the finished surface, but it does not replace the need for a properly designed waterproofing system underneath.
Step 10: Finish Edges and Transitions
Tile installations often meet other materials or surfaces.
Transitions may occur where tile meets another type of flooring, at doorways, around shower edges, or where wall tile ends.
These areas should be finished carefully to create a clean transition between surfaces.
When tile is part of a larger kitchen renovation, coordination with Countertop Installation in Aventura can also help create a more consistent finished appearance.
Step 11: Clean and Inspect the Installation
The final stage is cleaning and inspecting the completed tile work.
The installer checks the overall appearance, including:
- Tile alignment
- Grout joints
- Cuts around corners and fixtures
- Edges and transitions
- Finished surfaces
- Any remaining installation details
The area is then cleaned so the customer can clearly see the finished result.
How Does Tile Installation Fit Into a Kitchen Remodel?
Tile installation is often one part of a much larger renovation.
Homeowners searching for kitchen remodel contractors near me may also be planning cabinet installation, countertop installation, appliance placement, plumbing, electrical work, and painting.
These stages should be properly coordinated. For example, the renovation schedule should consider when flooring will be installed and how newly completed tile will be protected while other work continues.
Good scheduling can help reduce unnecessary delays and prevent damage to finished surfaces.
How Long Does the Tile Installation Process Take?
There is no single timeline for every tile project.
The total time depends on the size of the space, condition of the existing surface, preparation requirements, membrane or waterproofing system, tile size, pattern, number of cuts, setting materials, grout, and required curing times.
A simple floor installation may require fewer stages than a detailed shower with waterproofing, niches, multiple walls, speciality cuts, and different tile patterns.
